There is an annual competition for the ceramic artists. This year's was called 'Building Bridges'. This was one of my favourites with little ships mounted on pieces of driftwood. Here you can see a naughty visitor about to grasp hold of the exhibit.

We had a lunch of brie and onion chutney in ciabatta, followed by ice cream for me, and oat and pumpkin seed biscuits for Rob.
There was a three piece brass ensemble playing throughout the day to add to the festive atmosphere. Here I am smirking unnecessarily at one of the exhibits.
 As well as looking at the ceramics, you can wander round the walled gardens and grounds of the house, which were very beautiful and buzzing with insects at this time of year.

This was one of my favourite exhibitors. The dogs were caricatures, but very well observed, and reminded us a lot of our dear departed Tess, a Staffordshire Bull Terrier.

Find out more about Potfest here.


 "Fire & Water"

 I laid out one line of buttons at a time and carefully used a needle to mark their positions through the sewing holes. The buttons were then removed and set aside in the correct order. The pinprick marks were pushed all the way through the mount board to form sewing holes. Where there was a button with a shank, (just a handful in the whole picture), I used a hollow metal punch and hammer to make the hole.
  I then sewed that line of buttons to the mount board using some vegetable-dyed embroidery yarn from
  The approximate dimensions are: - 9 11/16" (24.7 cm) wide x 8 13/16" (22.5 cm) tall.
 Photo 1
 Photo 2
 Photo 3
 Photo 4
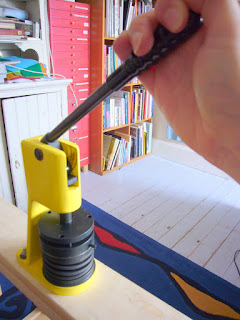 Photo 5
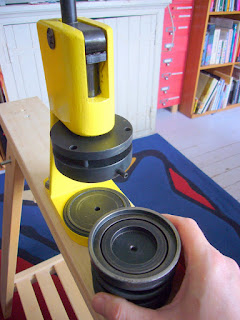 Photo 6
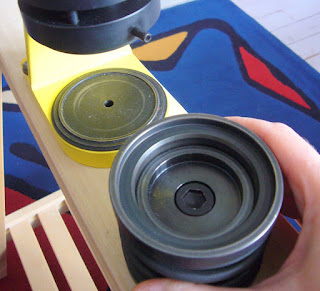 Photo 7
 Photo 8
 Photo 9
 Photo 10
 Photo 11
 Photo 12
 Photo 13
 Photo 14
 Photo 15
 Photo 16
 Photo 17
 Photo 17
 Photo 18
 Photo 19
 Photo 20
 Photo 21
 Photo 22
 Photo 23
 Photo 24
 Photo 25
 Photo 26
 Photo 27
 Photo 28
 Photo 29
 Photo 30
 Photo 31
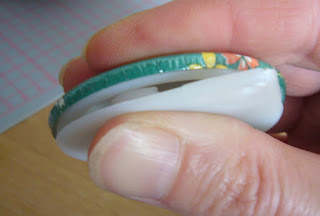 Photo 32
 Photo 33