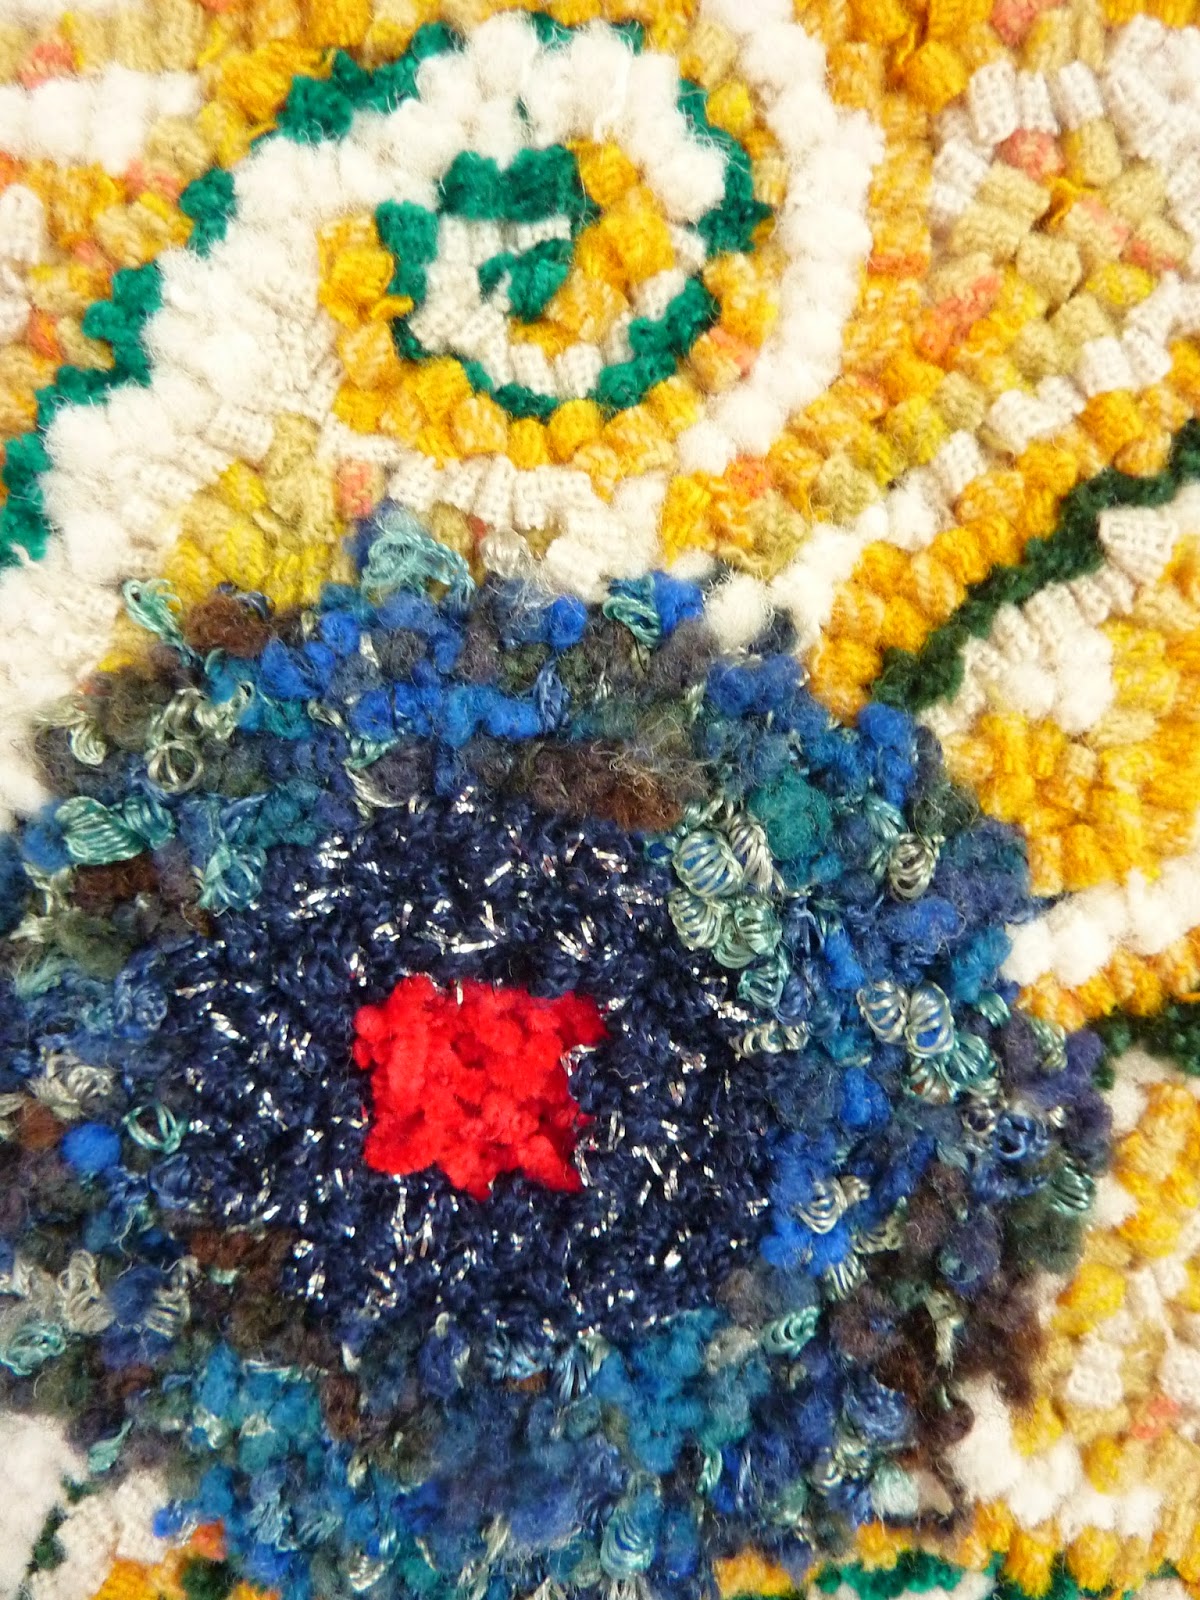
I have been working on my latest rag rug for a number of months now (just the odd hour now and then). I have nearly finished the hooking on this piece.
This one is made of repurposed fabrics (mainly cotton t-shirts and tops) sourced from family cast-offs, and from charity shops. A few of the fabrics have been overdyed by me (the yellow used in the flower centres, for example).
The rug is hooked onto a natural linen base cloth fixed to a wooden frame.
The design is drawn free hand onto the backing material with a felt-tipped pen. The hooking is done with a hand hook, which looks like a large crochet hook in a wooden handle. The fabric is cut with scissors, into strips of 1/4 - 1/2" in width depending upon the thickness. (This can be done with a rotary cutter and self-healing cutting mat if you prefer a more uniform strip, but I find that it creates more dust that way. I prefer to do a bit of cutting alternated with hooking as it makes for more variety in the work).
The end of the fabric strip and one loop have been drawn to the front of the rug
To make a loop in the fabric, you start with the strip below the backing fabric, poke your hook into the backing and draw the end of the strip to the surface, leaving about 1/2" above the surface (more if you want a higher pile on your finished rug). Skip a few holes in the backing, poke the hook back through and draw the strip up again forming a loop of your chosen height. I have made the loops about 1/4" high on this piece. I normally pull the loop slightly further up than I want, and use the hand below the fabric to pull the strip back down the right height.
A row of loops (roughly!) following the line of the design
You should end up with rows of little loops on the front and flat 'stitches' on the back. Trim the ends on the front to the height of the loops. You repeat this loop-forming action thousands of times and you have a rug!
Front of the rug showing six rows of hooking
It is very easy to learn and you can start by just making a small 'hit and miss' piece like a cushion cover to practise the technique. (Just hook random colours in straight lines, so there is no design or colour placement to worry about.)
Reverse of the rug, showing the flat lines of fabric strip
The technique is very time consuming and you get through far more fabric that you would imagine. This rug (27 x 35") has so far taken pieces from approximately thirty t-shirts and tops, one pair of leggings and a jersey sheet!
Only a few more weeks of hooking to go...